How to Protect a Damaged Roof Before Permanent Repairs Are Made
Severe weather can leave a roof in poor condition. Hail impact, wind uplift, or a fallen branch may create openings that let water into the structure. When permanent repairs are not possible immediately, taking the right temporary steps can prevent further damage and keep the interior dry. Acting quickly and carefully makes a difference in how well the roof holds up until a full repair can happen.
This guide walks through the essential actions to take after a storm, from the initial safety check to working with your insurance provider. Each step builds on the one before it, and knowing what to watch for at each stage helps you avoid common mistakes.
Assess the Damage Safely
Before you do anything, check the roof from the ground. Use binoculars to look for missing shingles, visible holes, or sagging sections. Hail impact often leaves a pattern of small dents or punctures that are hard to spot from a distance, so look closely. Fallen branches may have cracked the decking or lifted flashing. Walk around the house and note every area that looks compromised.
Do not climb onto a damaged roof unless you have experience and proper safety equipment. Wet surfaces, hidden rot, or weakened framing can make the roof unsafe to walk on. If you cannot see enough from the ground, wait for a professional roof inspection. Many roofing contractors offer emergency assessments, and some will provide a written report that helps with insurance claims.
Inside the house, check the attic or ceiling spaces. Look for water stains, damp insulation, or daylight coming through the roof deck. Mark the location of any leaks with tape or a note so you can match them to the exterior damage later. This inside-outside check gives you a clear picture of what needs protecting first.
Clear Debris Carefully
Once you know where the damage is, remove any loose debris from the roof surface. A fallen branch can scrape the shingles further if the wind moves it. Hail damage roof repair often starts with clearing the broken pieces left behind by a storm. Use a long pole or a roof rake from the ground if possible, or ask a professional to handle the job.
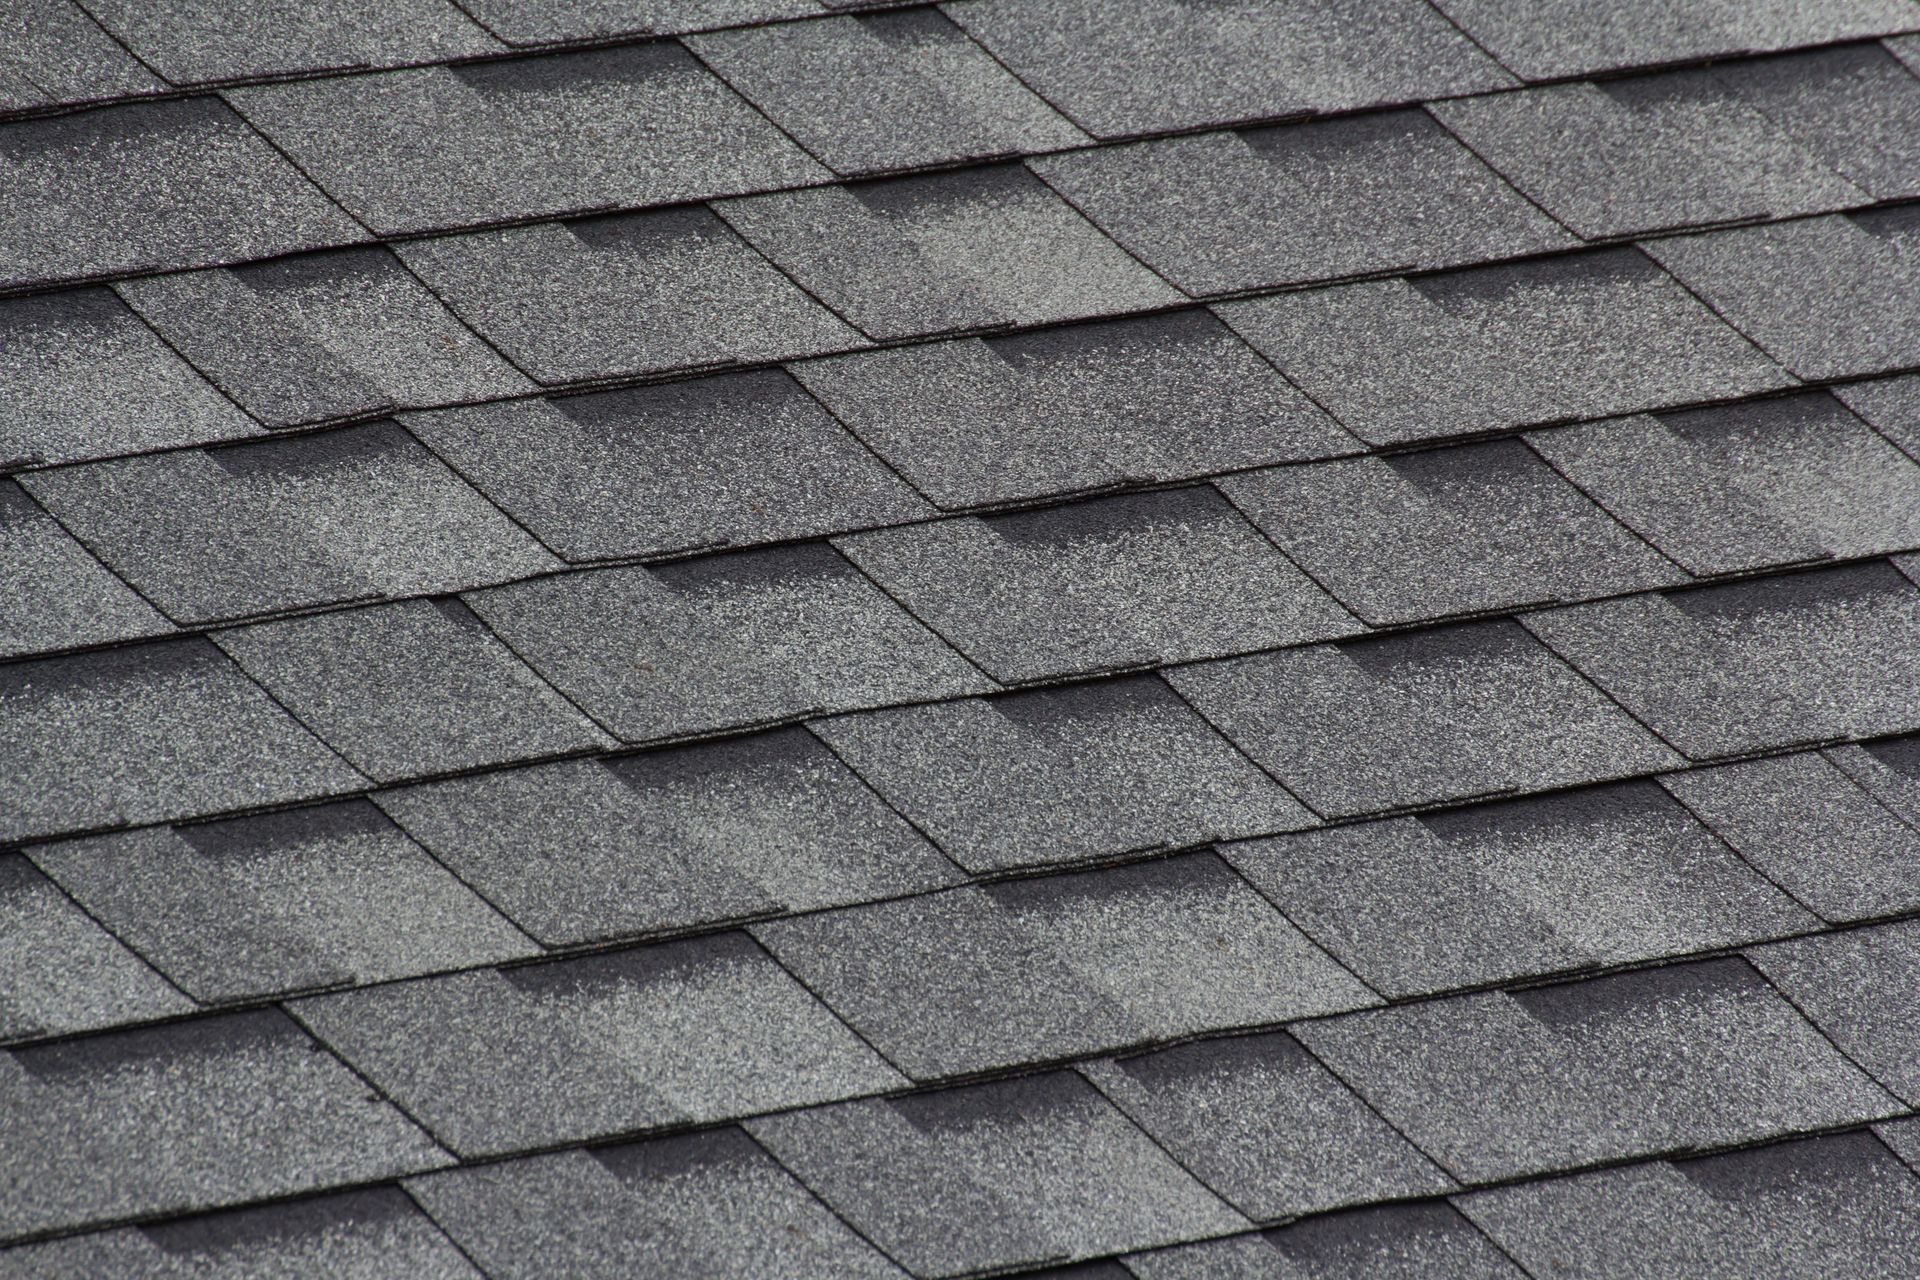
Watch for sharp edges, loose nails, or brittle materials that could break off. Do not try to pull out branches that are embedded in the roofing material; that job is best left to a contractor who can remove them without tearing the underlayment. The goal is to make the surface as clean as possible so the temporary cover will lie flat and seal properly.
Cover the Roof With a Temporary Tarp
A temporary tarp is the most common way to protect a damaged roof before permanent repairs. It keeps rain and wind out while you wait for materials and labor. Choose a heavy-duty tarp rated for outdoor use, preferably one with reinforced grommets and UV resistance. The tarp should extend beyond the damaged area by at least two feet on all sides to ensure full coverage.
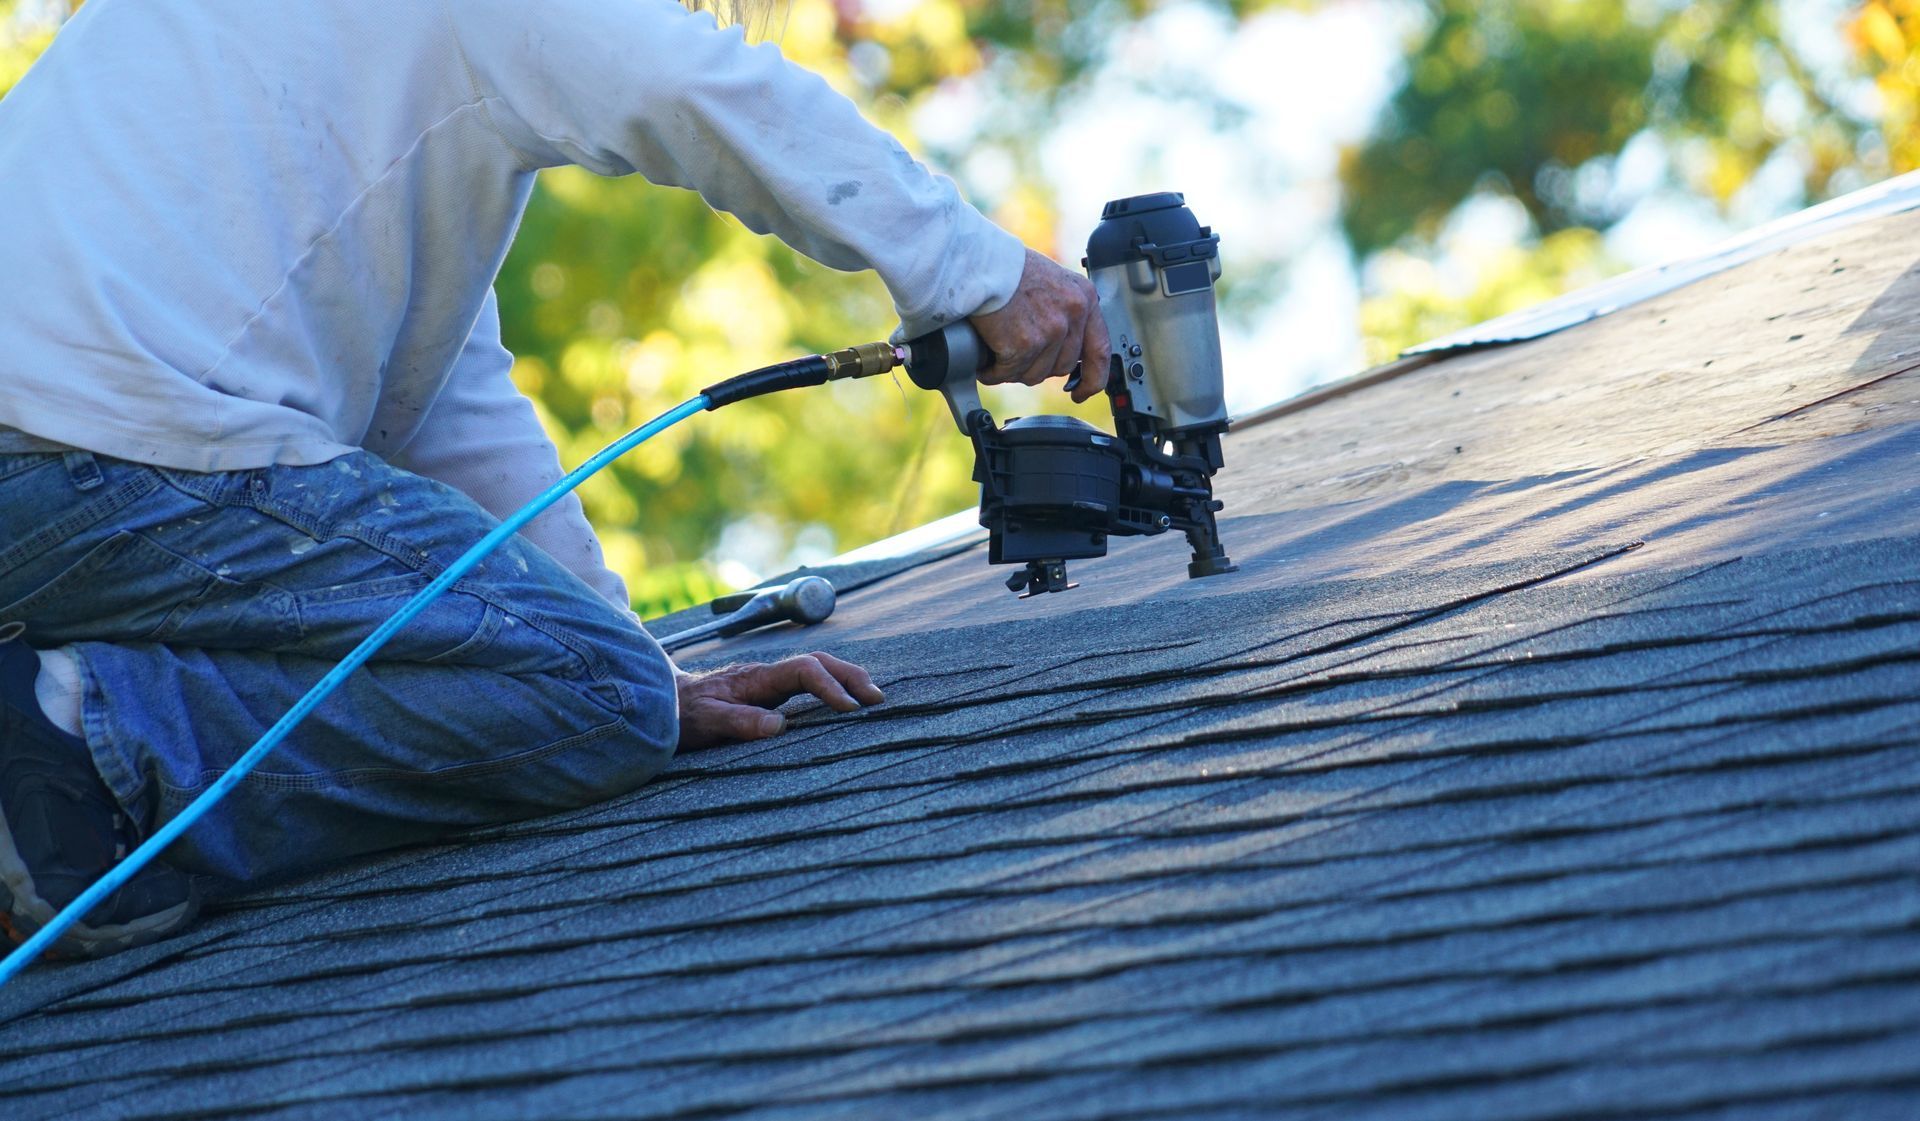
Secure the tarp with screws, washers, and batten strips. Start at the highest point of the damaged section and work downward so water runs over the tarp instead of under it. Do not fasten the tarp through the damaged area itself; fasten it along the edges into solid roofing or framing. Overlap multiple tarps if the damaged area is large, and seal the seams with waterproof tape or a bead of caulk. Check the fasteners after heavy rain or wind, as they can loosen over time.
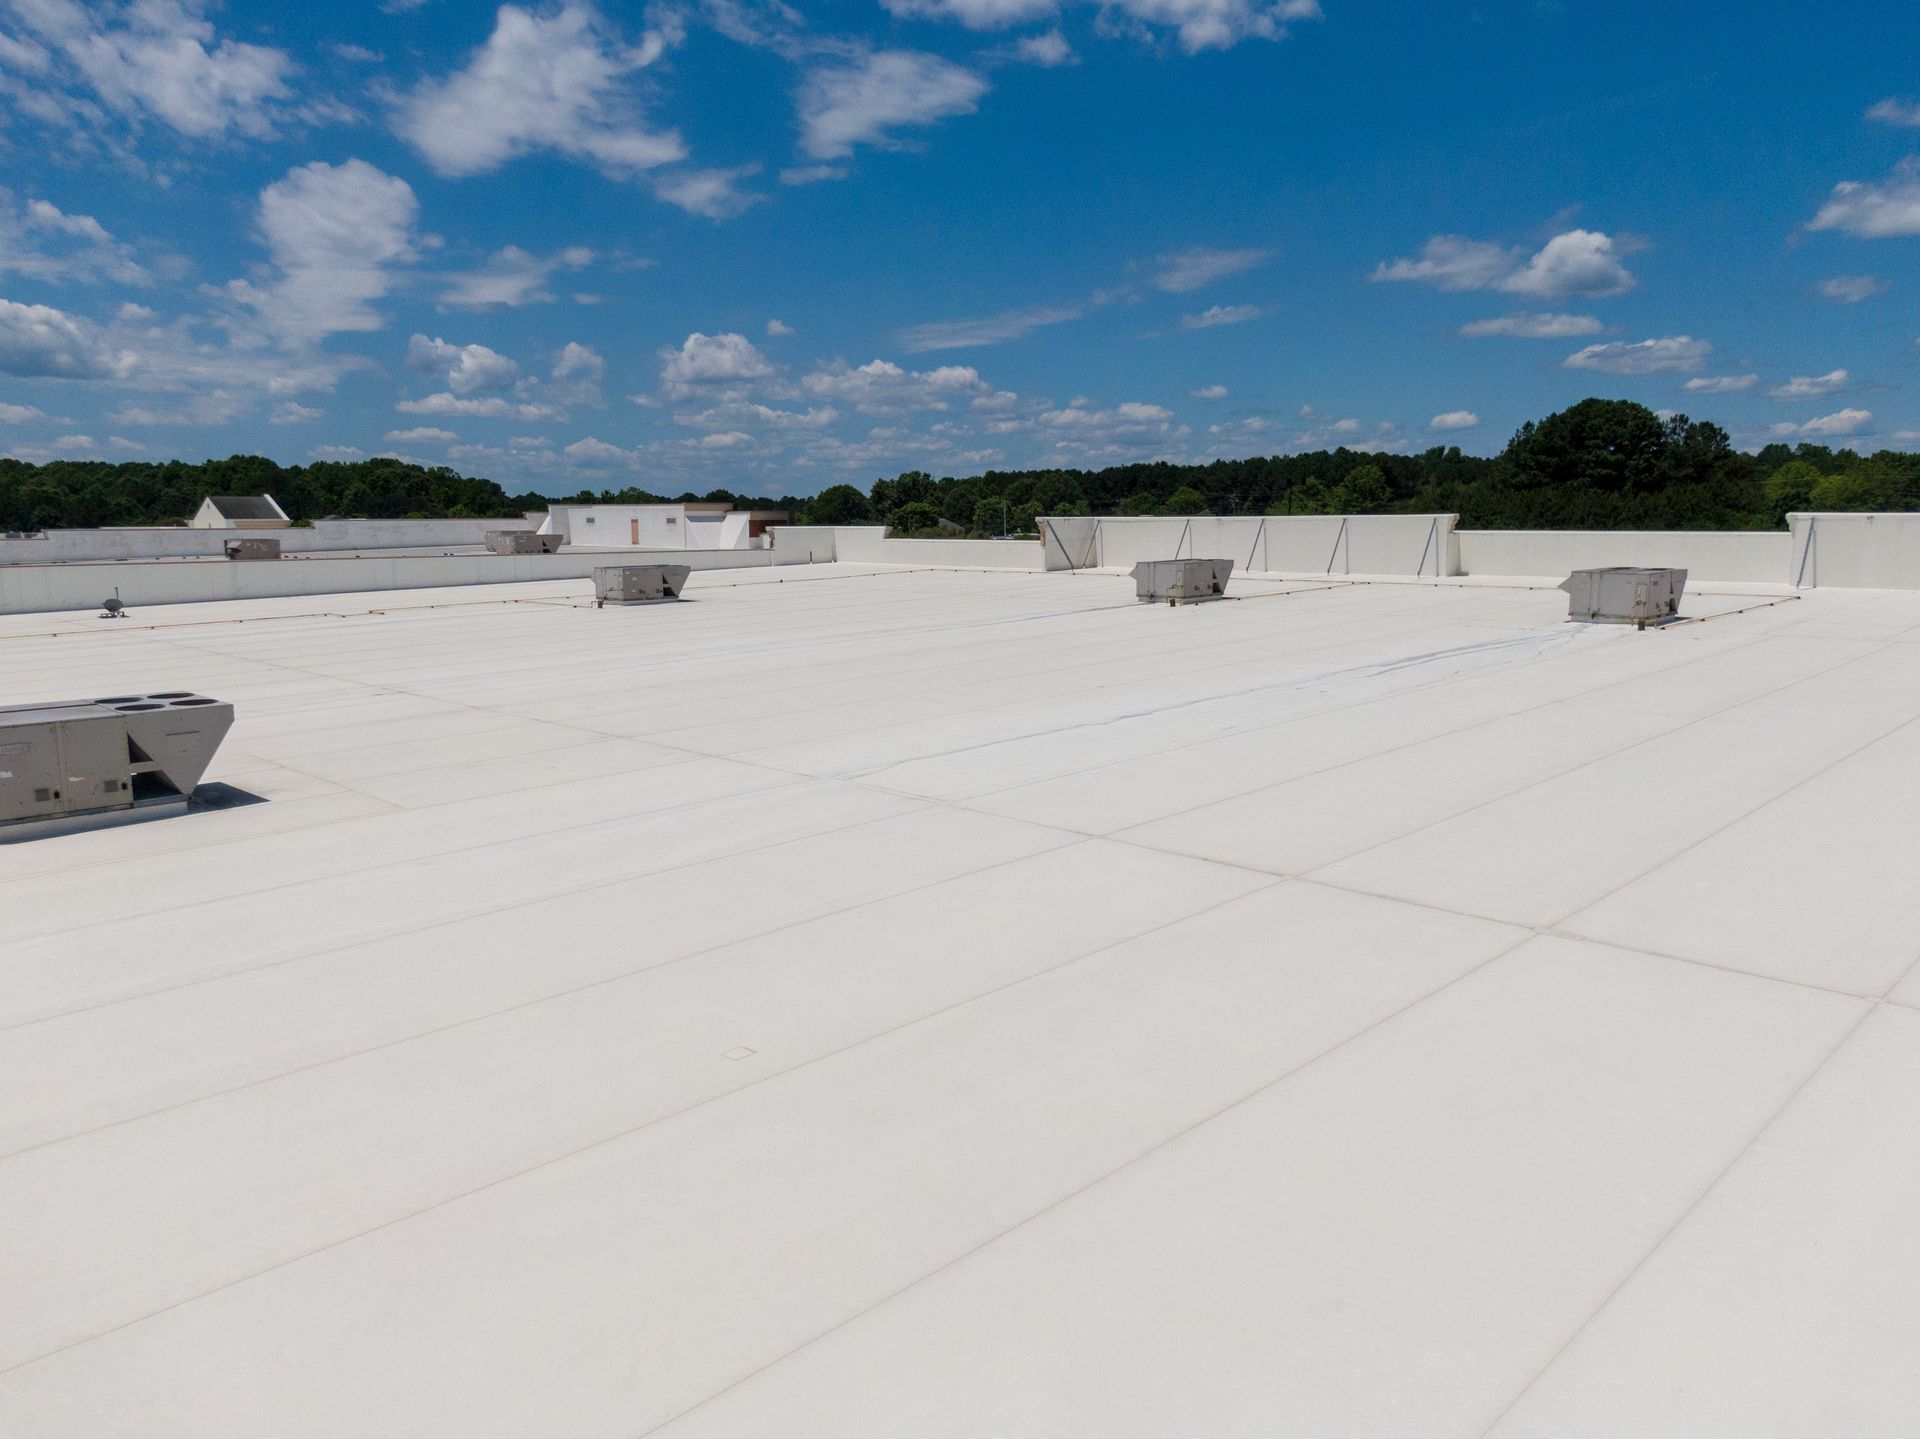
For flat roofs or low-slope roofs, use a tarp that is large enough to cover the entire affected section. Weigh down the edges with sandbags or lumber if fastening is not possible. The key is to create a watertight seal that will hold until permanent repairs begin. A poorly installed tarp can actually trap moisture and make the damage worse.
Address Interior Leaks Immediately
While the tarp is being installed, someone inside the house should start managing water that has already entered. Place buckets or plastic bins under active drips. Move furniture and belongings away from the affected area. If water is pooling on the ceiling, poke a small hole with a screwdriver to let it drain into a container. This prevents the ceiling from collapsing under the weight of trapped water.
Dry out the attic or ceiling space as much as possible. Use fans and a dehumidifier if you have one. Mold can begin growing within 24 to 48 hours in warm, damp conditions, so speed matters. Remove wet insulation and discard it if it cannot dry out completely. Keep the area ventilated until the roof is sealed.
Document everything. Take photos of the interior damage, the exterior damage, and the tarp installation. These records will be important when you file an insurance claim. Write down the date and time of each step you take. Insurance adjusters often want to see that you acted reasonably to prevent further damage, and a clear timeline helps your case.
Understand the Limits of Temporary Protection
A tarp is not a permanent fix. It can tear in high wind, degrade in sunlight, and let water seep through if the edges lift. Storm damage roof repair requires a permanent solution, but the temporary cover buys you time. Plan to replace the tarp with proper roofing materials as soon as possible, especially if more severe weather is forecast.
If the damage is widespread, consider renting a large commercial tarp that covers the entire roof slope. This is more expensive but provides better protection while you wait for a contractor. Some roofing supply companies sell temporary roof covers that are more durable than standard tarps. Ask your contractor for recommendations based on your roof type and the local climate.
Keep an eye on the tarp after installation. Check it after every storm. Look for pooling water, tears, or lifted edges. Re-secure any loose sections immediately. A small failure in the temporary cover can lead to major interior damage, especially if you are not home to catch it early.
Work With Your Insurance Company
After you have secured the roof, contact your insurance provider to start the claim process. Most policies cover temporary repairs as part of the damage mitigation. Some insurers require you to get approval before spending money on a tarp or other emergency measures, but if the situation is urgent, you can usually proceed and submit the receipts later.
Keep all receipts for materials, labor, and professional inspections. Your insurer may reimburse you for reasonable temporary repairs. Share the photos and documentation you gathered earlier. A detailed record of the damage and your response strengthens your claim and speeds up the adjustment process.
If a contractor performs a roof inspection, ask for a written report that describes the damage and the recommended permanent repair. This report can serve as evidence for the insurance adjuster and helps you get an accurate settlement. Do not sign any contracts for permanent repairs until the claim is approved, unless the damage is so severe that waiting would cause further structural problems.
Know When to Call a Professional
Some situations are too dangerous or complex to handle on your own. If the roof has structural damage, such as a sagging ridge line or cracked trusses, stay off it completely. A temporary tarp in that case needs to be installed by a professional who understands how to work around weakened framing. The same applies if the roof is steep or if the damage is near a chimney, skylight, or valley.
Hail damage roof repair often involves hidden issues that are not visible from the ground. A professional inspection can reveal problems like split underlayment, damaged flashing, or compromised insulation. Even if you plan to install the tarp yourself, having a roofer look at the roof first can prevent costly mistakes.
A Final Note on Protecting Your Home
Taking the right steps after a storm can mean the difference between a simple repair and a major renovation. Act quickly, work methodically, and document everything. The temporary protection you put in place now is an investment in the long-term health of your home.
READY ROOFING, LLC is also on Facebook.
Ready Roofing, LLC, located at 5105 Philips Hwy Ste 205, Jacksonville, FL 32207, USA, can be reached at +1 904-404-9849 for residential and commercial roof repairs, replacements, inspections, and storm damage restoration across Northern Florida.
Ends · WEATHERPROOFHOME